Popsicle Stick Coasters: An Easy Square Set to Make
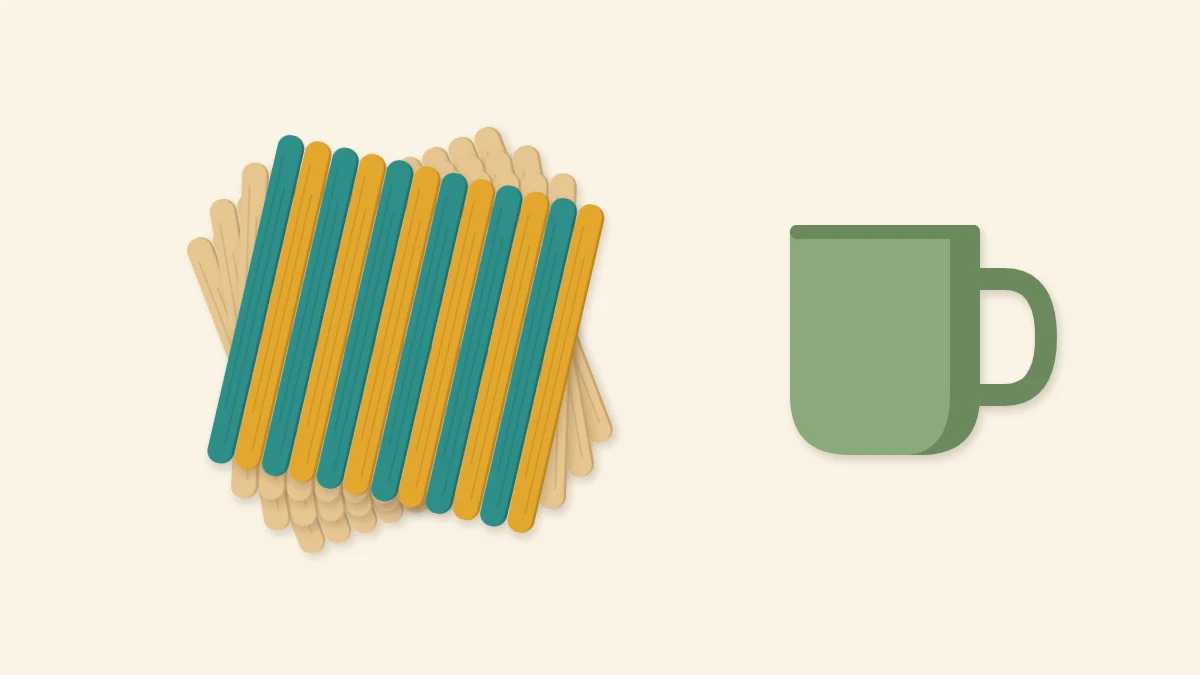
Twelve craft sticks side by side and two cross sticks on the back make one square coaster. Build a set of four and finish it three ways.
Tutorial at a glance
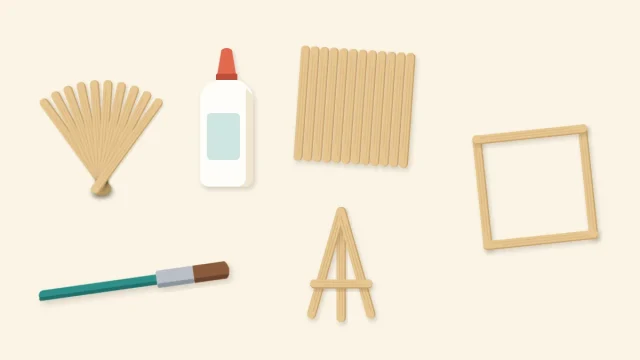
What you need
- About 56 standard craft sticks for a set of four (14 per coaster), plus spares
- White craft glue or tacky glue
- Wax paper or baking parchment
- A heavy book for pressing
- Fine sandpaper or an emery board
- Optional acrylic craft paint, brush and masking tape
- Optional felt or cork pads and clear sealer
Popsicle stick coasters are the simplest useful thing you can build from a pack of craft sticks: twelve sticks laid side by side make a square, and two more glued across the back hold it together. One coaster uses 14 standard sticks and no cutting, and a matching set of four is the same panel made four times.
The project is also good practice for the flat panel, which is the base of most boxes, lids and walls.
How the Coaster Goes Together
A standard craft stick is about 4.5 in long and 3/8 in wide (11.4 cm x 1 cm). Twelve of them side by side are about 4.5 in wide, so the panel comes out as a square about 4.5 in (11.4 cm) on each side. Packs vary a little, so lay your own sticks out and check before gluing.
The twelve face sticks are not glued to each other along their edges. Two cross sticks, glued flat across the back near the top and bottom edges, do all the holding. Each cross stick is the same length as the panel is wide, so it reaches every face stick.
What You Need
- About 56 standard craft sticks for a set of four (14 per coaster), plus a few spares
- White craft glue or tacky glue
- Wax paper or baking parchment to work on
- A ruler or a straight-edged book to line the sticks up against
- A heavy book for pressing the panel flat
- Fine sandpaper or an emery board
- Optional: acrylic craft paint, a small flat brush and masking tape
- Optional: self-adhesive felt or cork pads, and a clear sealer
| Coasters in set | Face sticks + cross sticks | Sticks needed |
|---|---|---|
| 1 | 12 + 2 | 14 |
| 2 | 24 + 4 | 28 |
| 4 | 48 + 8 | 56 |
| 6 | 72 + 12 | 84 |
Choose and Prepare the Sticks
Sort the pack first. For each coaster pick twelve sticks that are flat, straight and the same length, and keep the best faces for the top. A bowed stick will rock in the row and leave a gap, so put those aside. Slightly imperfect sticks are fine as cross sticks, since they sit underneath.
Lightly sand any rough ends or splintery edges now. It is much harder to sand between sticks once the panel is glued.
Assembling the Coaster Panel
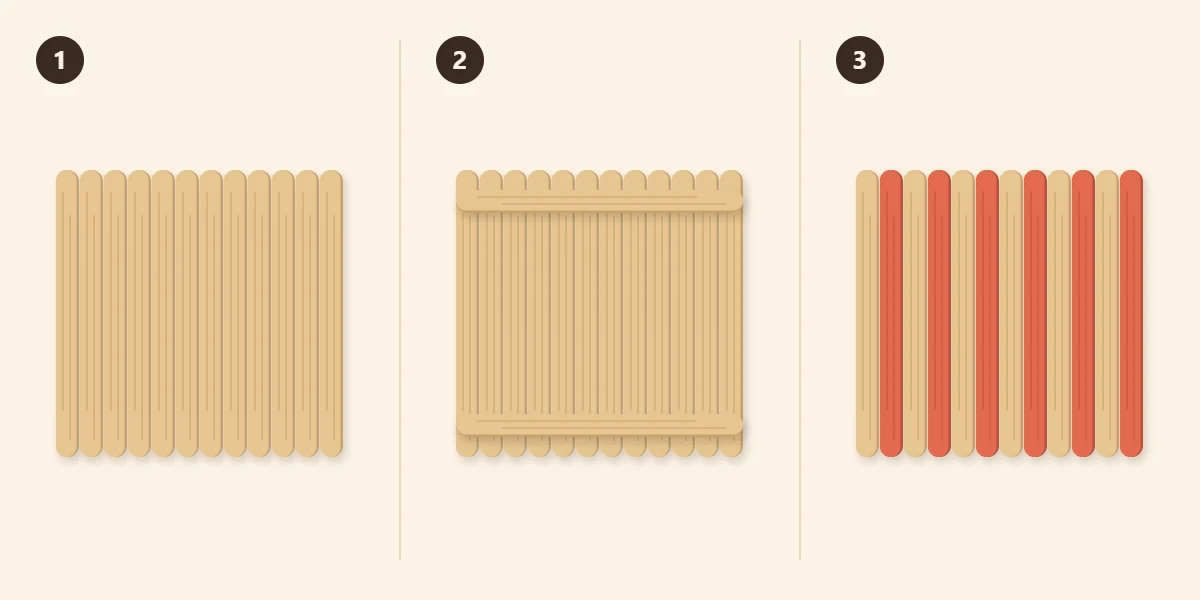
- Lay twelve sticks side by side. Work on wax paper, good faces down. Push the sticks together so their edges touch, and press one end of the row against a ruler or a book so the ends line up. Check that the row is square by laying a spare stick across it: the row should be as wide as the stick is long.
- Glue two cross sticks on the back. Spread a thin, even layer of glue along one face of a cross stick and press it across the row near the top edge, about a stick’s width in from the ends. Glue the other cross stick near the bottom edge in the same way. Make sure each cross stick touches all twelve face sticks, and wipe away any squeeze-out.
- Press, then finish the face. Cover the panel with wax paper, set a heavy book on top and leave it until the glue has set, as the label directs. Then turn the coaster face up. Leave it plain or decorate it, for example by painting every other stick.
The weight matters. Glue is mostly water, and thin sticks tend to curl as it dries; pressing keeps the panel flat while that happens. For more on how thin a layer to use, see the comparison of white, tacky and wood glue for craft sticks.
Tip
Build all four panels before decorating any of them. Stacked under the same book, with wax paper between each, they set flat together and come out the same size.
Three Ways to Finish the Set
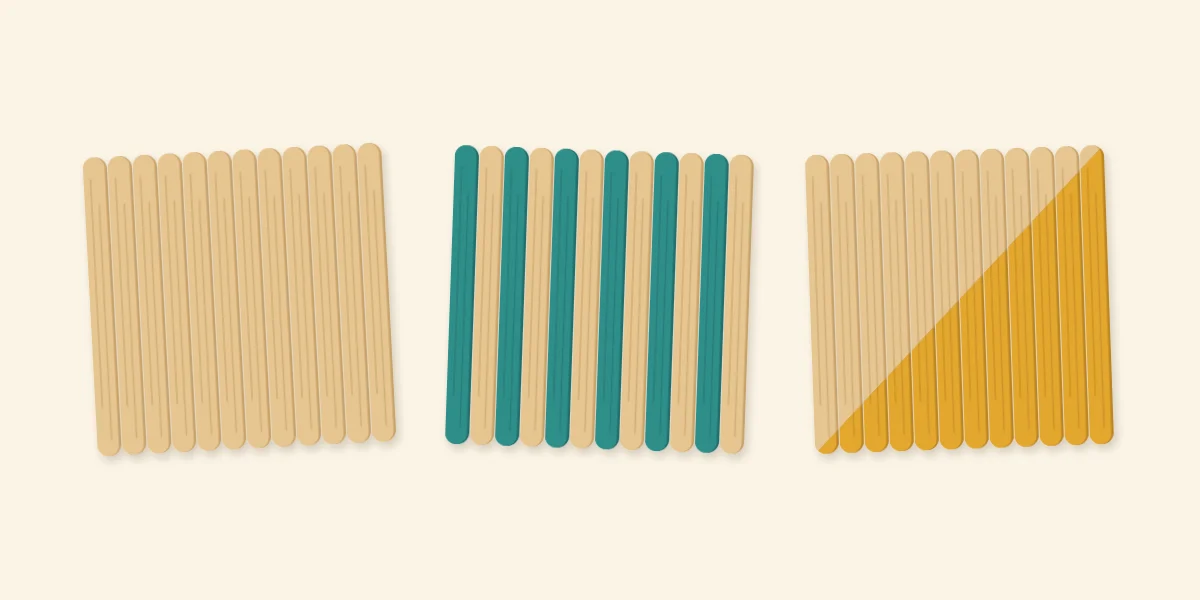
Plain natural wood
Sand the face lightly along the grain and leave it bare.
Alternate sticks painted
Paint every other stick in one color, such as teal, and leave the sticks between them natural. Use a small flat brush and very little paint, working along the grain. If you would like crisp edges without careful brushwork, paint six loose sticks before assembly and lay them alternately with six plain ones. The guide to painting craft sticks smoothly explains how to keep thin sticks from warping as paint dries.
Diagonal color block
Run a strip of masking tape from one corner of the finished coaster to the opposite corner and press its edge down firmly. Paint the half on one side of the tape, for example in mustard, brushing away from the tape edge so paint is not pushed under it. Peel the tape off once the paint is dry to the touch. The other half stays natural.
Pads and Sealer
Four small felt or cork pads stuck to the underside, one near each corner, let the coaster sit level. Put them on the face sticks, not on the cross sticks, or choose pads thick enough to stand clear of the cross sticks.
A clear sealer is optional. If you use one, apply it as its label directs, in a ventilated space, and brush thin coats so the panel does not warp.
Watch out
These are thin wooden craft pieces. A sealer does not make them proof against hot mugs or spills, and what a particular sealer covers is for you to check on its label. Keep wooden items away from candles and other sources of heat.
Common Problems
- The panel curled. There was too much glue, or the panel was not weighted. Use a thinner layer next time and press it under a book until the glue has set.
- Gaps between sticks. A bowed stick is holding its neighbors apart. Swap it during the dry layout, before any glue goes on.
- Ragged ends. The sticks differ slightly in length. Line one end up against a ruler, then sand the other end of the finished panel flat on a sheet of sandpaper.
- A stick came loose. The cross stick had no glue at that spot. Dab glue under the loose stick, press and weight it again.
Giving the Set and What to Make Next
Tie the four coasters into a stack with twine or ribbon to keep the set together. Matching colors across several table pieces works well, and the handmade napkin holder uses the same panel skills in an upright form.
Frequently asked questions
How many popsicle sticks does it take to make a coaster?
One square coaster uses 14 standard craft sticks: twelve side by side for the face and two cross sticks glued across the back. A set of four needs 56, and it is sensible to have a few spares for bowed or chipped sticks.
Why did my popsicle stick coaster warp?
Thin sticks curl when they soak up water from glue or paint on one side. Use a thin layer of glue, cover the panel with wax paper and press it under a heavy book until the glue has set. Apply paint and sealer in thin coats.
Do popsicle stick coasters need to be sealed?
Sealing is optional. A clear sealer changes the look and feel of the surface, and what it covers beyond that is something to check on its own label. Apply it as the label directs in a ventilated space, and keep wooden coasters away from candles and heat.