Popsicle Stick Photo Magnets: Small Framed Gifts for the Fridge
Make small photo frame magnets from four mini craft sticks each, with a card-backed picture behind the opening and a craft magnet on the back.

Tutorial at a glance
What you need
- 4 mini craft sticks per magnet
- A copy of a photo or a small drawing, about 2 in (5 cm) square
- Thin card, about 2.25 in (5.7 cm) square
- 1 craft magnet disc or self-adhesive magnetic strip
- White craft glue or tacky glue
- Acrylic craft paint and a small brush
- Scissors, pencil, ruler and wax paper
Popsicle stick photo magnets are tiny picture frames, each made from four mini craft sticks, with a photo behind the opening and a magnet on the back. They are small enough to make in a batch, and a set of three or four makes a compact handmade gift for a fridge door, a filing cabinet or a magnetic board.
The frame is the simplest one there is: two sticks laid parallel, two more glued across their ends. The care goes into the painting, the trimming of the picture and the placing of the magnet so the frame sits flat against the metal.
What You Need
For each small magnet:
- 4 mini craft sticks, about 2.5 in (6.4 cm) long
- A photo print or a small drawing, trimmed to about 2 in (5 cm) square
- Thin card, such as kraft card or a cereal box panel, about 2.25 in (5.7 cm) square
- 1 flat craft magnet disc, or self-adhesive magnetic strip
- White craft glue or tacky glue
- Acrylic craft paint and a small brush
- Scissors, pencil, ruler and wax paper
- Clothespins or a heavy book
Craft sticks is the name popsicle sticks are sold under, and mini ones come in their own packs. Measure yours, since lengths and widths vary a little from pack to pack.
Tip
Use a copy of a photo, never the only print. The picture is trimmed and glued down, and it cannot be taken out again without damage.
Choose a Frame Size
Mini sticks make a frame about 2.5 in (6.4 cm) square with an opening of roughly 1.75 in (4.4 cm). Standard sticks make a larger one about 4.5 in (11.4 cm) square. A bigger frame needs more magnet behind it, because it has more wood and card to hold up.
| Frame size | Sticks | Magnet |
|---|---|---|
| About 2.5 in (6.4 cm) square | 4 mini | 1 disc in the center |
| About 2.5 in (6.4 cm), double layer | 8 mini | 1 disc or 2 strips |
| About 4.5 in (11.4 cm) square | 4 standard | 2 strips, top and bottom |
The double-layer version is a second set of four sticks glued on top of the first, which gives a deeper, chunkier frame. For a full-size frame with a stand or a hanger, follow the method for a standard popsicle stick picture frame instead.
Paint the Sticks First
Paint the four sticks before gluing them. Loose sticks are easier to cover on every edge, and no paint ends up on the photo. Use thin coats and paint the back faces as well, so the sticks stay flat. The guide to painting popsicle sticks without warping has the details. Let the paint dry fully as the label directs before any glue goes on.
Build the Frame, Add the Picture and Magnet
- Glue the frame. On wax paper, lay two mini sticks parallel, about 2.5 in (6.4 cm) apart from outer edge to outer edge. Put a small dot of glue on each end, then lay the other two sticks across them to make a square with overlapped corners. Check the corners against the corner of a sheet of paper, clip or weight the frame, and leave it until the glue has set.
- Back the picture and glue it in. Glue the trimmed picture to the center of the card square. Turn the frame face down, run a thin line of glue around the opening and press the card on, picture side down, so the image shows through the front. Weight it flat until set.
- Attach the magnet. Glue the magnet disc to the center of the card backing with tacky glue and press firmly. Leave the frame face down, undisturbed, until the glue has set.
Before trimming the picture, hold the frame over it and move it around to choose what shows in the opening. Mark the corners lightly in pencil and cut slightly outside the marks, so the picture is a little larger than the opening and smaller than the card.

Magnet Types and Where to Put Them
Two kinds of craft magnet suit these frames. A flat disc is glued on with tacky glue. Self-adhesive magnetic strip is cut to length with scissors and pressed on by its own backing, which is tidy and needs no drying.
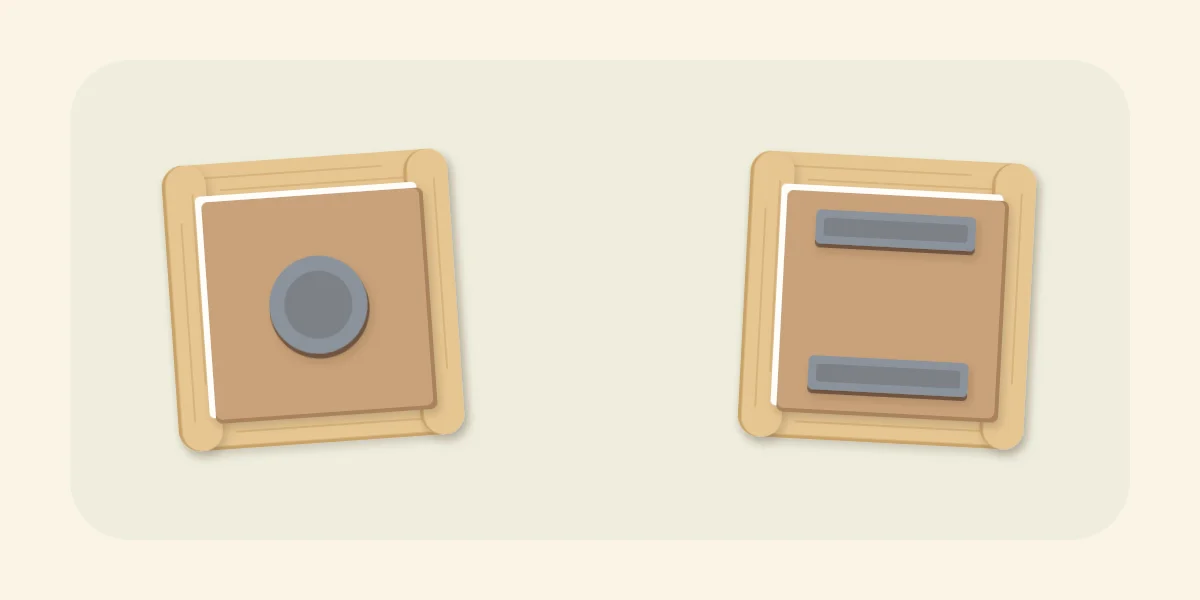
A single disc goes in the exact center of the backing. Off center, the frame hangs at a tilt or swings around when the door closes. Strips go in a pair, one along the top edge of the backing and one along the bottom, which keeps a larger frame from pivoting. Because the two overlapped sticks sit higher than the two beneath them, check that the magnet stands at least as proud of the back as the frame does. If it does not, glue it to a small extra square of card first.
Test every magnet before it is wrapped. Put it on a metal door, open and close the door a few times, and tug the frame gently to check that the magnet is firmly attached. If the frame slides, add a second magnet or switch to a pair of strips.
Watch out
Small magnets are dangerous if swallowed. Keep loose magnets and finished frames out of reach of young children and pets, check from time to time that each magnet is still firmly glued, and throw away any that has come loose.
Common Problems
- The frame is a diamond, not a square. The corners were not checked before the glue set. Use a paper corner as a guide on the next one.
- The picture has wrinkled. Too much wet glue soaked into the paper. Spread a very thin film, or use a glue stick for the picture.
- The frame slides down the door. The magnet is too weak for the frame or is not touching the metal. Add a second magnet or raise it on card.
Variations and Giving a Set
Paint each frame in a different color, add dots or stripes with a paint pen, or write a name or a date along the bottom stick. A drawing, a pressed-flower print or a small pattern cut from wrapping paper can stand in for a photo.
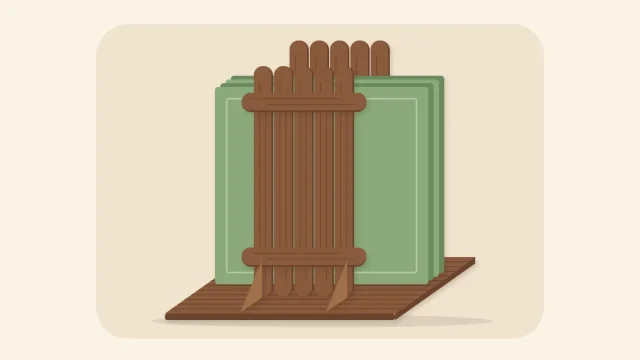
To give a set, stack three or four magnets with a square of paper between them so the paint does not rub, and tie the stack with twine. They also fit neatly in a small slatted gift basket made from the same sticks. Add a note about keeping magnets away from young children.
Frequently asked questions
Where should the magnet go on a popsicle stick photo frame?
A single disc goes in the exact center of the card backing, so the frame hangs level and does not swing. For a larger frame, use two pieces of magnetic strip, one along the top of the backing and one along the bottom. Check that the magnet stands at least as high as the back of the frame so it touches the metal.
What glue holds a magnet to a craft stick frame?
Tacky glue works for a flat craft magnet disc on a card backing. Press the magnet down firmly and leave the frame face down until the glue has set. Self-adhesive magnetic strip sticks with its own backing and needs no glue.
Are photo magnets suitable for homes with small children?
Small magnets are dangerous if swallowed, so keep loose magnets and finished frames out of reach of young children and pets. Check regularly that each magnet is still firmly attached and discard any that has come loose. When giving a set, tell the recipient the same.