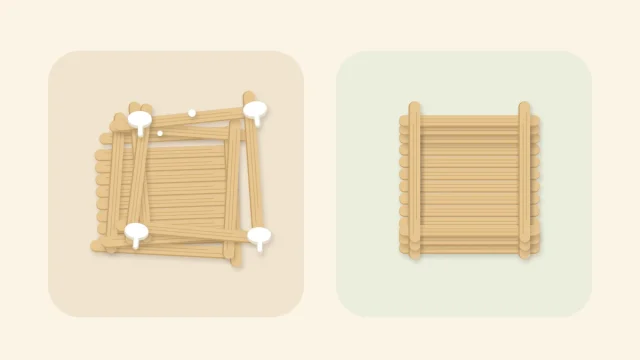
How to Stain Popsicle Sticks: Wood Stain, Watercolor and Marker Methods
Three ways to color craft sticks while keeping the wood grain visible: water-based wood stain, a thin watercolor or acrylic wash, and markers for small parts.
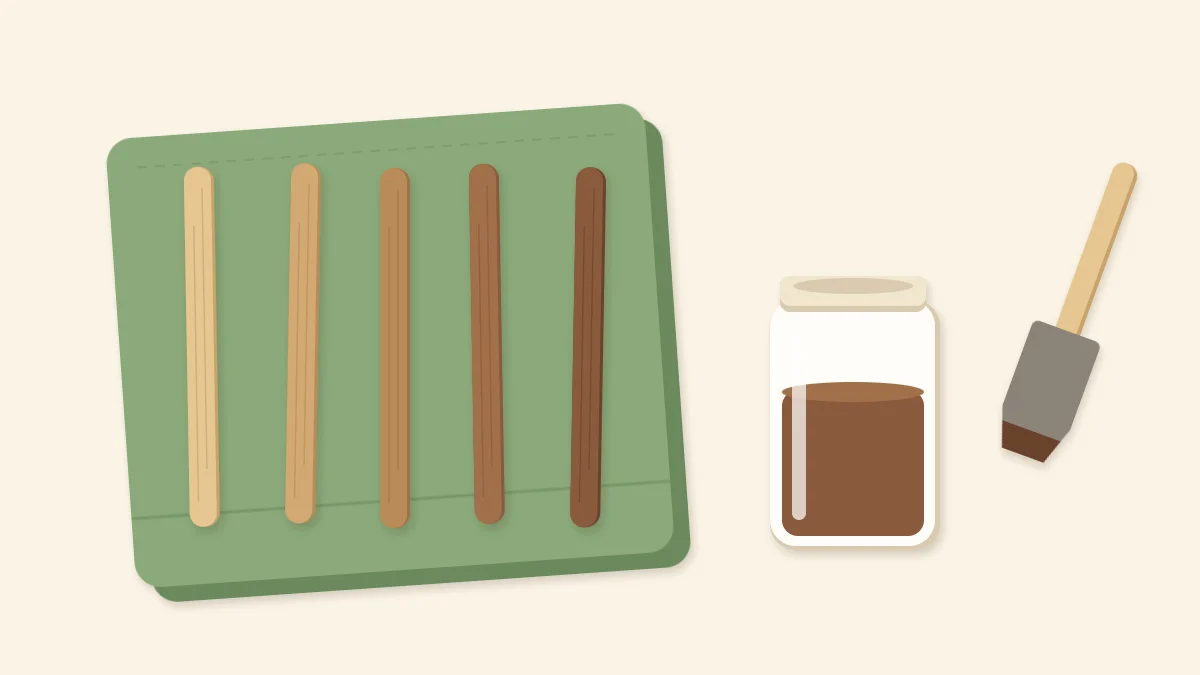
Tutorial at a glance
What you need
- A pack of new craft sticks, plus spares for testing
- Water-based wood stain, watercolors or acrylic craft paint, or water-based markers
- Foam brush and a soft round brush
- Clean cotton rag or paper towels
- Wax paper or baking parchment
- Fine sandpaper or an emery board
- Disposable gloves
Learning how to stain popsicle sticks gives you color without hiding the wood. Paint sits on the surface as an opaque coat; stain and thin washes soak in, so the grain lines still show through and a plain craft stick starts to look like a small plank of walnut, oak or driftwood.
There are three practical ways to do it at a craft table: water-based wood stain, a wash of watercolor or thinned acrylic, and water-based markers. All three share the same habits: test first, color both faces, and dry the sticks flat and raised.
Why Craft Sticks Take Color Unevenly
Popsicle sticks, sold in craft packs as craft sticks, are thin slices of pale, soft wood. The density changes from stick to stick and even along one stick, so the same stain can look light on one piece and much darker on the next. The rounded ends are cut across the grain and drink more color than the flat faces.
That is why a test matters. Before you color a whole batch, try the method on one or two spare sticks from the same pack and let them dry, because wet color looks darker than the dry result. A light rub with fine sandpaper along the grain also helps the color soak in evenly.
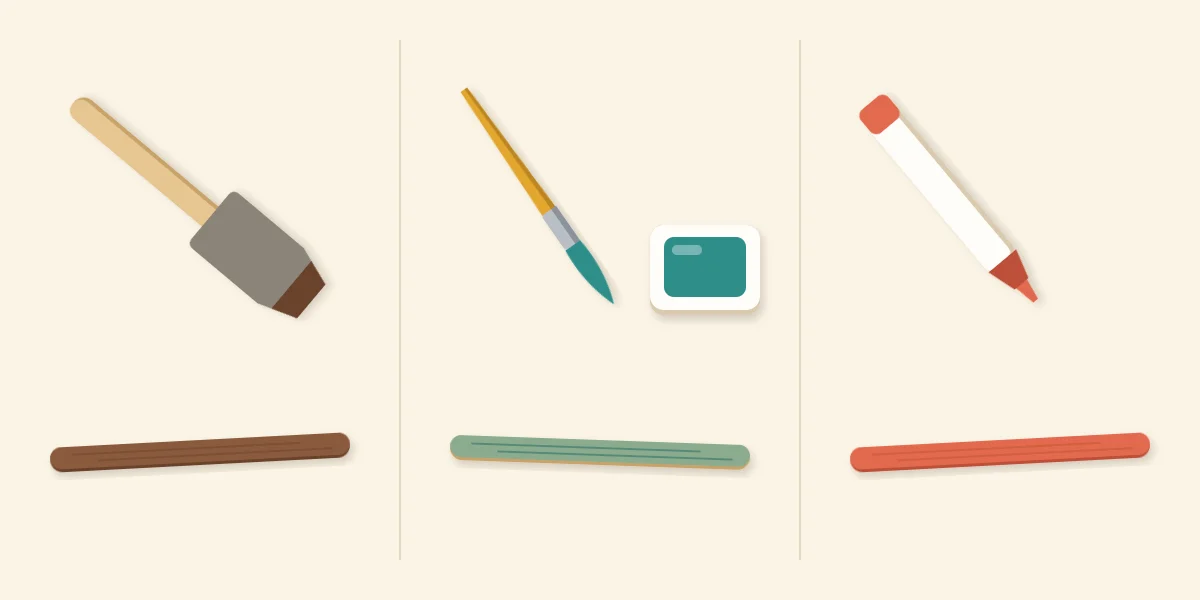
Three Ways to Color Craft Sticks
Choose the method by the look you want and by how many sticks you need to do.
| Method | Look | Best for |
|---|---|---|
| Water-based wood stain | Natural wood browns and grays, grain clearly visible | Large batches, boxes, shelves, frames |
| Watercolor or thinned acrylic wash | Translucent color such as teal or coral, grain showing | Colored projects that should still look like wood |
| Water-based marker | Bright, more solid color | Small parts, edges, single accent sticks |
Wood stain gives the most convincing wood tones. Pick a water-based product, which cleans up with soap and water and has less odor than other kinds, and apply it with a foam brush. A wash is simply paint with a lot of water in it: wet a watercolor pan with a round brush, or thin a drop of acrylic craft paint until it is closer to tinted water than to paint. Markers are the least messy choice for a handful of pieces, though the color is flatter and covers more of the grain.
What You Need
- New craft sticks, plus a few spares for testing
- Water-based wood stain, watercolors or acrylic craft paint, or water-based markers
- A foam brush for stain and a soft round brush for washes
- A clean cotton rag or paper towels
- Wax paper or baking parchment to protect the table
- Fine sandpaper or an emery board
- Disposable gloves and an apron, since stain marks skin and clothes
Brush On, Wipe Back, Dry
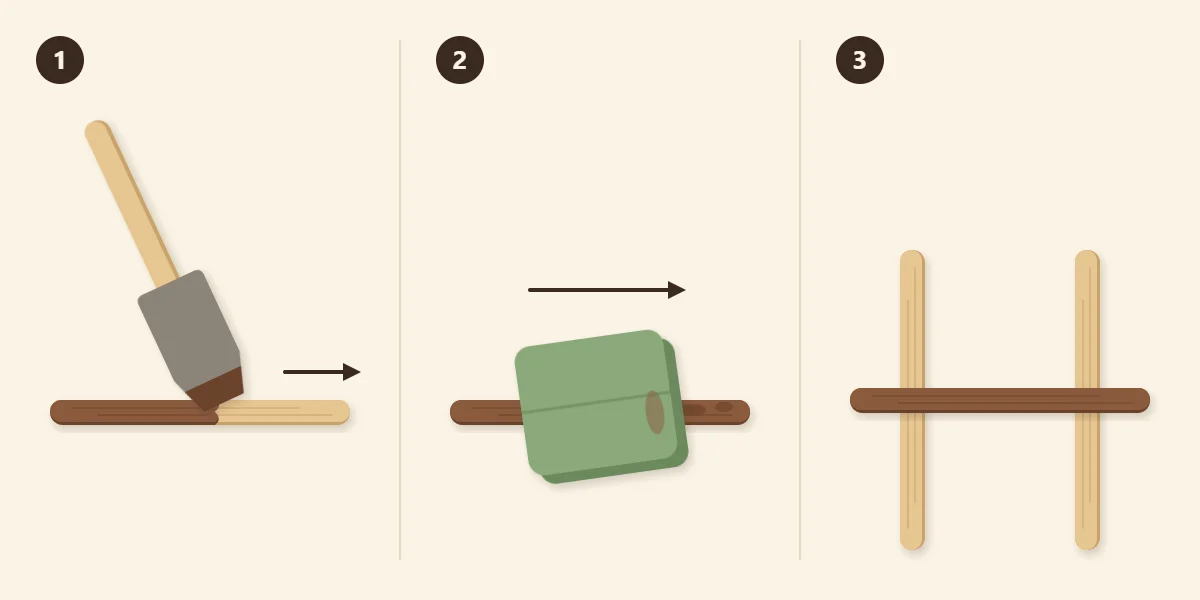
The same three moves work for stain and for washes.
- Brush the color on. Lay a stick on wax paper and brush stain along its length, following the grain, until the whole face and both edges are wet. Work on a few sticks at a time.
- Wipe off the excess. Fold the rag into a pad and wipe along the stick in one direction. This lifts the pooled stain that would otherwise dry as a dark blotch, and it evens out the rounded ends. For a darker tone, add a second thin coat once the first is dry to the touch instead of leaving one heavy coat to sit.
- Dry the stick raised. Turn the stick over, color and wipe the other face, then rest it across two plain sticks so air reaches both sides. A stick left flat on the paper stays damp underneath, and that is what makes it curl.
Coloring both faces is not only about looks. Wood swells where it gets wet, so a stick wetted on one side bows toward the dry side. Wetting both sides balances the pull. If a stick still curves slightly, press the batch under a heavy book between sheets of wax paper once they are dry to the touch and leave them until they are fully dry.
Watch out
Use stain and sealer in a room with good ventilation, follow the product label for handling, drying and cleanup, and keep the containers closed and away from children and pets. Lay used rags flat to dry before throwing them away.
Tips for Washes and Markers
With a wash, start paler than you think you need. You can build color with another thin layer, but you cannot take it back out of the wood. Reload the brush often so the color does not fade toward one end of the stick. If you want solid, opaque coverage instead, the guide to painting popsicle sticks smoothly covers primer, thin coats and sealing.
With markers, use the side of the tip and pull long strokes from end to end. Short scribbles leave overlapping dark patches. Run the tip along the two narrow edges as well, since bare edges show clearly once the sticks are stacked.
Stain Before or After Gluing
Where possible, color the sticks before assembly. Stain cannot soak into wood that has glue on it, so any squeeze-out left on a finished piece shows up as a pale, shiny patch.
The trade-off is that glue grips bare wood best. Thin stains and washes soak in and leave the surface open enough for white craft glue or wood glue to hold, but a thick or sealed finish can weaken the joint. Two habits help: keep the coats thin, and leave any sealer until the piece is fully glued. On a flat project such as a popsicle stick picture frame, you can also stain after assembly, as long as you wipe every bit of squeeze-out away while the glue is still wet.
For stacked builds, staining first is far easier. The walls of a stained planter box are full of small gaps, and coloring loose sticks in batches is quicker than working a brush between the layers.
Other Ways to Decorate Stained Sticks
A stained stick makes a good background for simple decoration. Two ideas need nothing beyond basic supplies:
- Paper strips. Cut decorative paper into strips a little narrower than the stick, glue them down with a thin layer of white craft glue, and smooth from the center outward so no bubbles are trapped.
- Stamped dots. Dip the flat end of a pencil or the handle of a brush in acrylic craft paint and press it down to print a row of even dots.
Frequently asked questions
Why do my popsicle sticks stain blotchy?
Craft sticks are soft wood with uneven density, so some areas soak up more color than others, especially the rounded ends. Sand lightly along the grain, brush the stain on, and wipe it back with a rag before it dries. Thin coats built up one at a time look more even than one heavy coat.
Should I stain popsicle sticks before or after gluing?
Staining before gluing is usually easier, because stain cannot soak into wood that has glue on it and dried squeeze-out shows as a pale patch. Keep the coats thin so the glue can still grip the wood, and leave any sealer until the piece is assembled. Flat projects can be stained afterward if all squeeze-out is wiped away while wet.
How do I stop stained popsicle sticks from warping?
Color both faces of each stick so the wood swells evenly, then dry the sticks raised across two spare sticks so air reaches both sides. If a stick still curves, press it under a heavy book between sheets of wax paper once it is dry to the touch and leave it there until it is fully dry.