Popsicle Stick Phone Stand: A Simple Angled Desk Rest
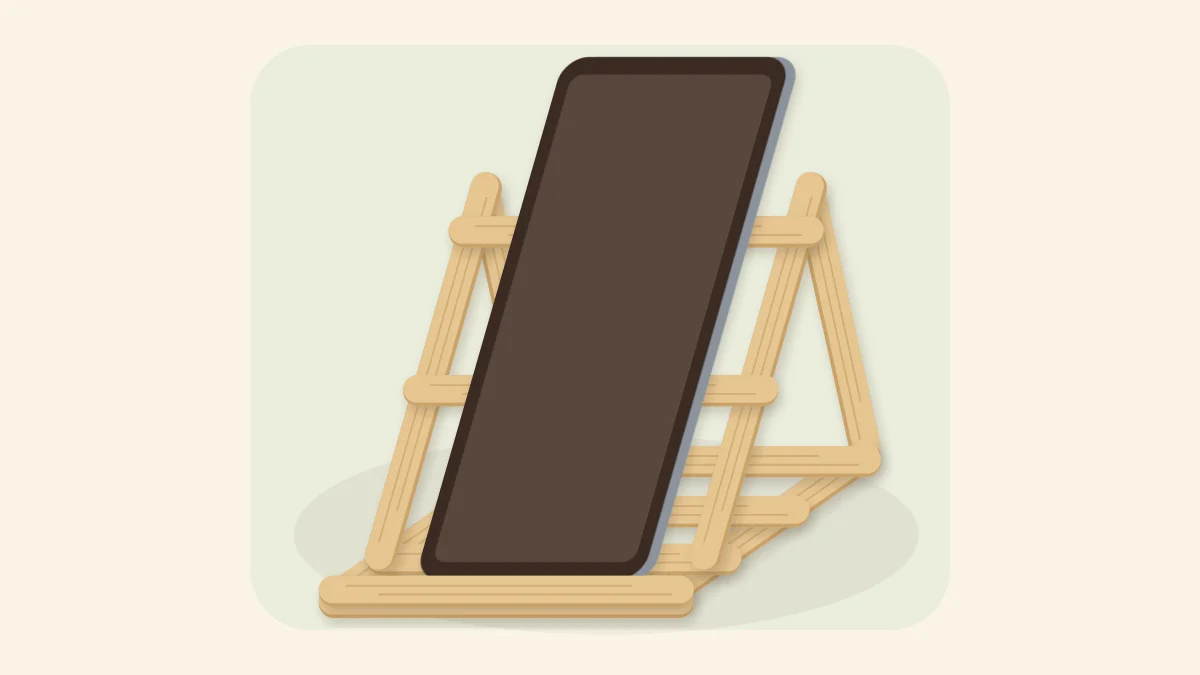
Build an angled phone stand from about fifteen craft sticks. Two braced triangles, five cross sticks and a low front lip make a rigid desk rest with almost no cutting.
Tutorial at a glance
What you need
- About 15 standard craft sticks, plus spares
- Wood glue or tacky glue
- White craft glue
- Sturdy scissors
- Fine sandpaper or an emery board
- Clothespins
- Pencil and ruler
- Wax paper
- Self-adhesive felt
- Acrylic craft paint (optional)
A popsicle stick phone stand is a small build with a clear job: hold a phone at a readable angle on a desk or counter. This version uses about fifteen standard craft sticks, two triangular side frames and a low lip at the front. Almost every piece is a whole stick, so there is very little cutting.
Sizes below are suggestions, because craft sticks vary from pack to pack. Measure your own sticks and test the angle with your own phone before any glue goes on.
How the Stand Works
Each side of the stand is a triangle made of three parts: a base stick lying along the desk, a back-rest stick leaning back from near the front, and a brace running from the top of the back rest down to the rear of the base. A triangle cannot change shape unless one of its sides changes length, so the back rest cannot fold backward under the phone. Leave out the brace and the frame would hinge at the bottom joint.
The two triangles stand parallel and cross sticks tie them together. Two cross sticks at the front form a narrow shelf for the bottom edge of the phone, and a lip on the front one stops it from sliding off.
What You Need
- About 15 standard craft sticks, each about 4.5 in (11.4 cm) long, plus a few spares
- Wood glue for the triangle joints, or tacky glue
- White craft glue for the cross sticks and lip
- Sturdy scissors and a cup of warm tap water for the two brace cuts
- Fine sandpaper or an emery board
- Six or more clothespins
- Pencil, ruler and wax paper
- Thin self-adhesive felt for the underside
- Acrylic craft paint for the lip (optional)
Buy new craft sticks instead of washing used food sticks. New ones are flat, and flat sticks make stronger glue joints.
Parts and Stick Count
| Part | Sticks | Purpose |
|---|---|---|
| Base sticks, doubled | 4 | Feet and gluing ledge |
| Back rests | 2 | Support the phone |
| Braces, trimmed | 2 | Lock each triangle |
| Base cross sticks | 3 | Join sides, form shelf |
| Back-rest cross sticks | 2 | Join sides, carry phone |
| Front lip | 2 | Stops sliding |
That adds up to 15 sticks: 13 whole and 2 trimmed.
Build the Side Triangles
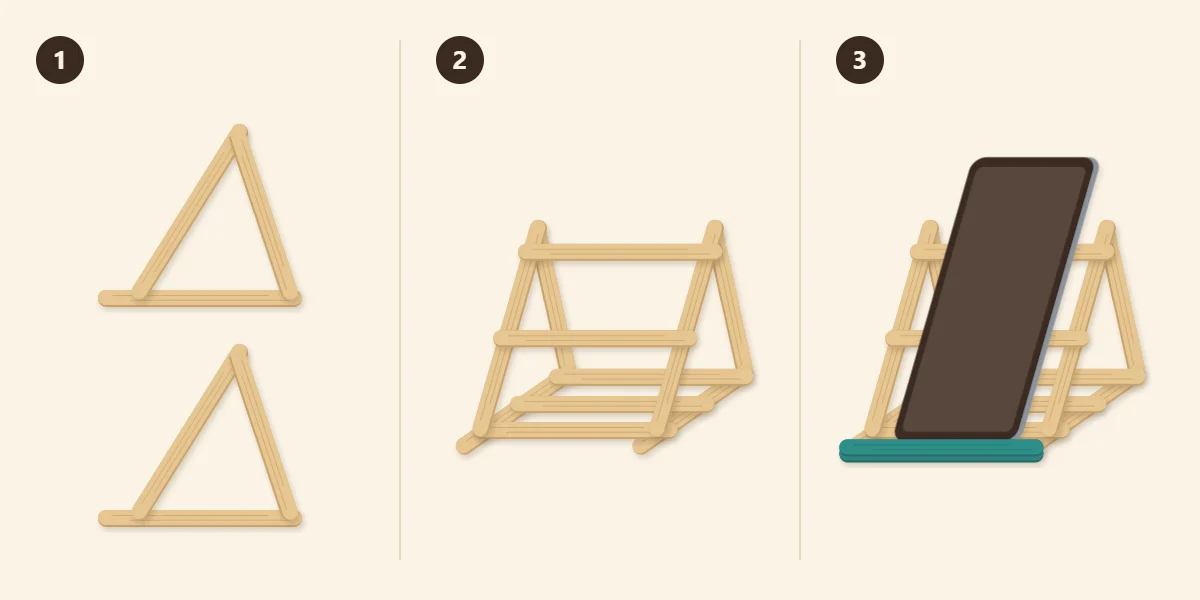
Work flat on wax paper and dry fit everything first. The two frames must match, so build the first one, then build the other on top of it with wax paper between them.
- Set the angle. Lay one base stick flat. Place a back-rest stick on it so its foot overlaps the base about 1 in (2.5 cm) from the front end and its top leans toward the rear. Hold your phone against it over a folded towel and adjust until the lean looks right.
- Mark and trim the brace. Lay a third stick from the top of the back rest to the rear end of the base, overlapping both. Mark where it passes the lower edge of the base, soften it in warm tap water, cut at the mark with sturdy scissors and sand the end. The guide to cutting craft sticks without splitting them covers the method. Wear eye protection, and have an adult do the cutting when children are helping.
- Glue the lap joints. Glue the foot of the back rest and the foot of the brace onto the face of the base stick, then glue the top of the brace over the top of the back rest. These overlapping faces are lap joints, the strongest simple joint for craft sticks, because the glue covers a wide area.
- Double the base. Glue the other base stick on top, sandwiching the two feet between the base sticks. Clamp each joint with a clothespin and wipe away squeeze-out.
Doubling the base traps the feet of the back rest and brace between two faces of wood, and gives the frame a wider edge to stand on and to glue cross sticks to.

Join the Two Sides
Wait until the glue in both frames has set fully before you stand them up.
- Check the pair. Lay the two finished triangles flat, one on the other. The back rests should line up.
- Add the cross sticks. Stand the frames parallel, a little less than a stick length apart, with the base sticks on edge. Glue three cross sticks along the base: two side by side at the front, just ahead of the back-rest feet, and one at the rear. Then glue two across the front edges of the back rests, one near the top and one near the middle. Prop the frames between two heavy books so they stay upright and square.
- Add the lip and test. Glue two sticks face to face, paint them if you like, and glue the stack flat on the frontmost cross stick. Once everything has set, rest the phone on the shelf behind the lip.
Tip
Keep the lip low. Two stacked sticks are about 1/6 in (4 mm) high, low enough to leave the screen clear. Check with your own phone, in its case, before adding a third layer.
Felt Pads and Finishing
Cut two narrow strips of self-adhesive felt and press them along the bottom edges of the base. Felt keeps the stand from skating across a smooth desk when you tap the screen.
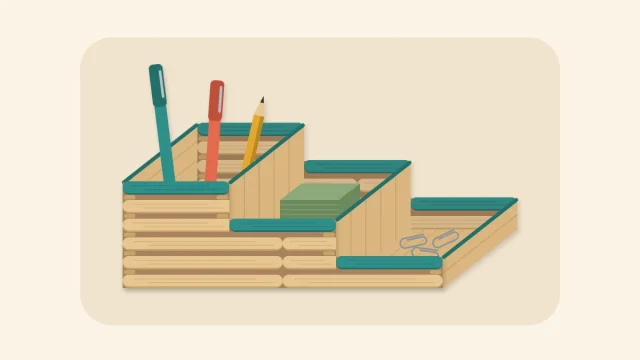
Paint or stain is optional. If you paint, do it after the glue has set. For a matching desk set, the same sticks and glue build a three-compartment desk organizer.
Watch out
Phones and cases differ in size and thickness, so do not assume the stand suits yours. Test it over a soft surface such as a folded towel, and keep the stand away from candles and other heat sources.
Common Problems
- The stand rocks. The two base edges are not level. Rub the underside on a sheet of sandpaper laid flat on the table until all four ends touch.
- The stand tips backward. The back rest leans too far, or its foot sits too far back. Build the triangles again with the back rest more upright.
- A cross stick pops off. Edge joints have little glue area. Scrape off the old glue, apply fresh wood glue and hold the joint with a rubber band until it has set.
Variations
For a wider stand, keep the same triangles and use jumbo craft sticks as the cross sticks. For a steeper or flatter viewing angle, change only the lean of the back rest and trim new braces to suit.
Frequently asked questions
Why does the phone stand need a brace behind the back rest?
Without the brace, the back rest is held by a single joint at its foot and can hinge backward. The brace completes a triangle with the base and the back rest, and a triangle keeps its shape as long as its three sides stay the same length. That is what makes the frame rigid.
Will this stand fit any phone?
Phones and cases vary in width and thickness, so check with your own device before gluing. Dry fit the back rest and lip, rest the phone on them over a folded towel, and adjust the lean or the lip height until it sits steadily.
Can the stand be built without cutting any sticks?
The two braces usually need a small trim so they do not stick out below the base. Soften each stick in warm tap water, cut it with sturdy scissors and sand the end. Every other part is a whole craft stick.