How to Plan a Popsicle Stick Project: Sketches, Templates and Stick Counts
Sketch at full size, measure in whole sticks, dry fit on your own paper template and count sticks with spares before you open the glue.
Tutorial at a glance
What you need
- A pack of standard craft sticks for measuring and dry fitting
- Grid paper
- Pencil and ruler
- Wax paper or baking parchment
- Masking tape
A pencil sketch settles most of the problems in a build before any glue is open. Planning a popsicle stick project means drawing the shape at full size, working out how the sticks will lie on it, counting what you need and deciding the order of assembly. Sticks that turn out too short, corners that will not close and paint that cannot reach inside a box are all easier to find on paper.
The method works for anything from a flat ornament to a small house. It uses only grid paper, a pencil, a ruler and the sticks themselves.
Sketch, Dry Fit, Then Glue
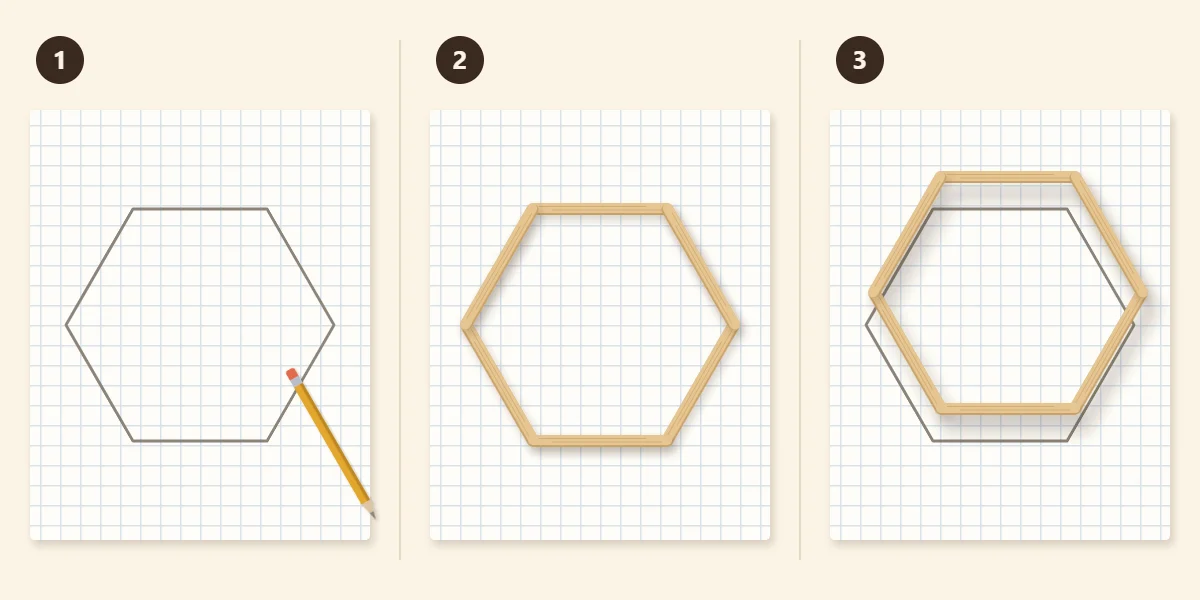
Every plan follows the same three stages. A dry fit is a rehearsal: you lay every stick in place with no glue. A simple hexagon shows the sequence clearly.
- Sketch. Draw the hexagon outline in pencil on grid paper, with each side one stick long.
- Dry fit. Lay six sticks along the six sides of the outline. The ends should overlap neatly at each corner, and the last stick should close the shape without being forced. If it does not, adjust the drawing, not the sticks.
- Glue and lift. Glue the corners with the sticks still lying on the outline. Once the glue has set, lift the finished hexagon off. The pencil outline is still on the sheet, ready for the next one.
Use the Stick as Your Unit of Measure
Popsicle sticks, sold in packs as craft sticks, are close to uniform within a pack, which makes the stick itself the handiest ruler you have. A standard stick is about 4.5 in long and 3/8 in wide (11.4 cm x 1 cm), but packs vary, so measure one of yours and write the numbers at the top of your sketch.
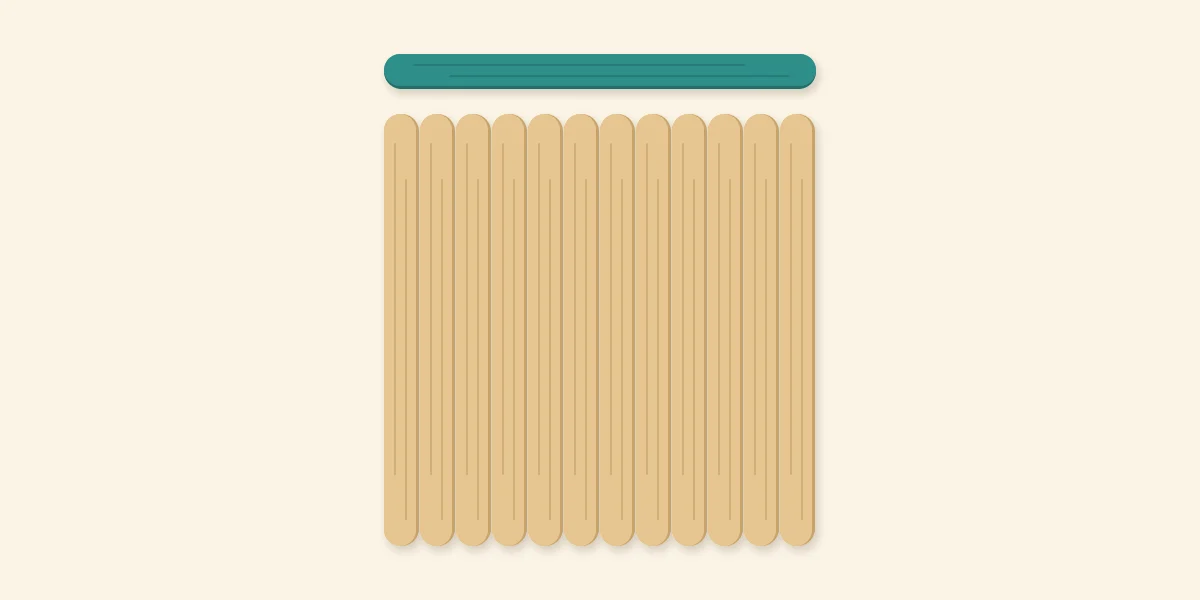
The most useful relationship is this: twelve standard sticks laid side by side are about as wide as one stick is long. Twelve sticks make a square panel, and a wall that is one stick long and twelve sticks tall needs no cutting at all. Designing in whole sticks keeps scissors out of the project almost entirely.
Check this with your own pack: lay twelve sticks side by side and one more across the top, and note any difference.
Sketch the Shape at Full Size
Draw on grid paper at full size, not to scale. A full-size drawing lets you lay real sticks on it, and anything that does not fit shows immediately. Tape two sheets together if the project is larger than one page.
Start with the outline, then draw each stick as a narrow strip. Mark where sticks overlap and which one lies on top. If you are new to sticks and sizes, the beginner’s guide to sticks, glue and first projects covers the basics this sketch relies on.
Look for sides that could be one whole stick long. Shifting a design slightly so that it uses full sticks is nearly always better than trimming. Where a shorter piece is unavoidable, see whether a mini stick, about 2.5 in (6.4 cm) long, fills the space. For the cuts that remain, follow the method for cutting craft sticks cleanly with scissors.
Break a 3D Object into Flat Panels
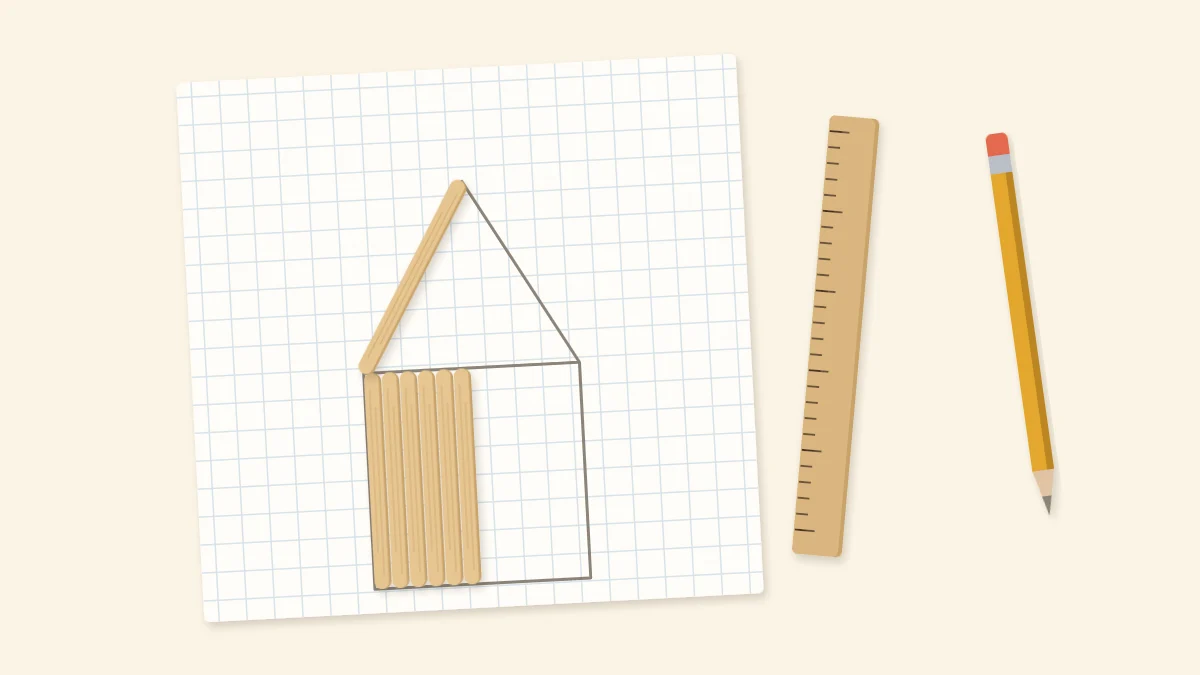
Almost every three-dimensional stick project is a set of flat pieces glued together at the edges. A box is a base and four walls. A small house is a floor, two side walls, two end walls with pointed tops, and two roof panels.
Draw each panel separately, flat, at full size. Then check that the edges that will meet are the same length. Remember the thickness of the sticks, about 1/12 in (2 mm), where one panel sits against the face of another: the walls of a box either sit on top of the base or wrap around it, and the two choices need different wall lengths. The simple decorative cottage is a good example of a build planned panel by panel.
| Shape | How to lay it out | What to check |
|---|---|---|
| Square panel | Twelve sticks side by side, two cross sticks | Row width equals one stick length |
| Open frame | Four sticks with overlapped corners | Corners square against a paper corner |
| Hexagon | Six sticks along six equal sides | All corners overlap the same way |
| Box | Base panel plus four walls | Wall length allows for stick thickness |
| Pitched roof | Two panels meeting at a ridge | Panel length matches the walls |
Turn the Sketch into a Template
Your own full-size drawing is the template. Go over the pencil lines with a darker pen, then lay a sheet of wax paper or baking parchment over the drawing and tape the corners down. You can see the lines through it, and glue that squeezes out lands on the covering sheet instead of sticking the piece to the drawing.
Build directly on top. For repeated shapes, such as the two end walls of a house, one template makes every copy the same size.
Tip
Draw a square corner on the template with the corner of a sheet of paper and line the first two sticks up against it. If the first corner is true, the remaining sticks follow it.
Estimate the Stick Count and Add Spares
Count the sticks panel by panel from your sketch and write each total beside its panel. A twelve-stick panel with two cross sticks is 14, and four of them are 56. For stacked walls, count the sticks in one layer and multiply by the number of layers you have drawn.
Then add spares. Every pack contains sticks that are bowed, twisted or chipped at the end. Roughly one spare for every ten sticks in the count is a reasonable allowance.
Decide the Order of Assembly and When to Paint
Write a short numbered list on the sketch: which panels are built first, which joints must set before the next piece goes on, and which parts are clamped with clothespins, rubber bands or a weight. Flat panels come first, because they need to set flat under a heavy book before anything stands on them.
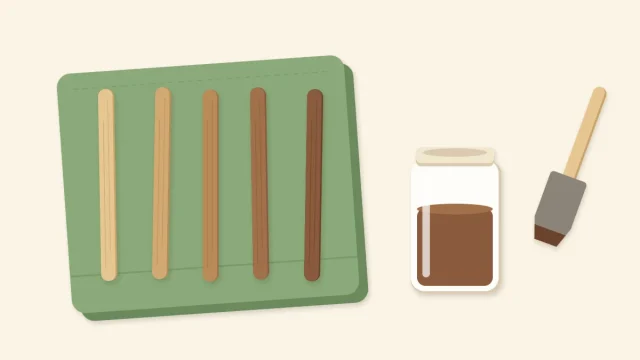
Decide on paint at the same stage. Stripes in several colors are far easier on loose sticks, and the inside of a box is hard to reach with a brush once the piece is assembled. Glue bonds best to bare wood, though, so leave the contact areas unpainted where a joint needs strength.
Watch out
Do not skip the dry fit on the final assembly. Panels that each look right can still fail to meet, and that is far easier to correct before the edges are covered in glue.
Frequently asked questions
How do I work out how many popsicle sticks a project needs?
Draw the project at full size, split it into flat panels and count the sticks in each one. For stacked walls, count one layer and multiply by the number of layers. Then add spares, roughly one for every ten sticks, to cover bowed and chipped pieces.
What is the best way to make a template for a popsicle stick project?
Draw the shape yourself at full size on grid paper and darken the lines. Tape wax paper or baking parchment over the drawing and build on top of it. The lines show through, and glue does not stick the piece to the paper.
Should I paint popsicle sticks before or after gluing?
It depends on the design. Multicolor stripes and the insides of boxes are easier to paint before assembly. Glue bonds best to bare wood, so leave contact areas unpainted where a joint needs strength, or paint flat panels after they set and before joining them.