How to Build a Popsicle Stick House: A Simple Decorative Cottage
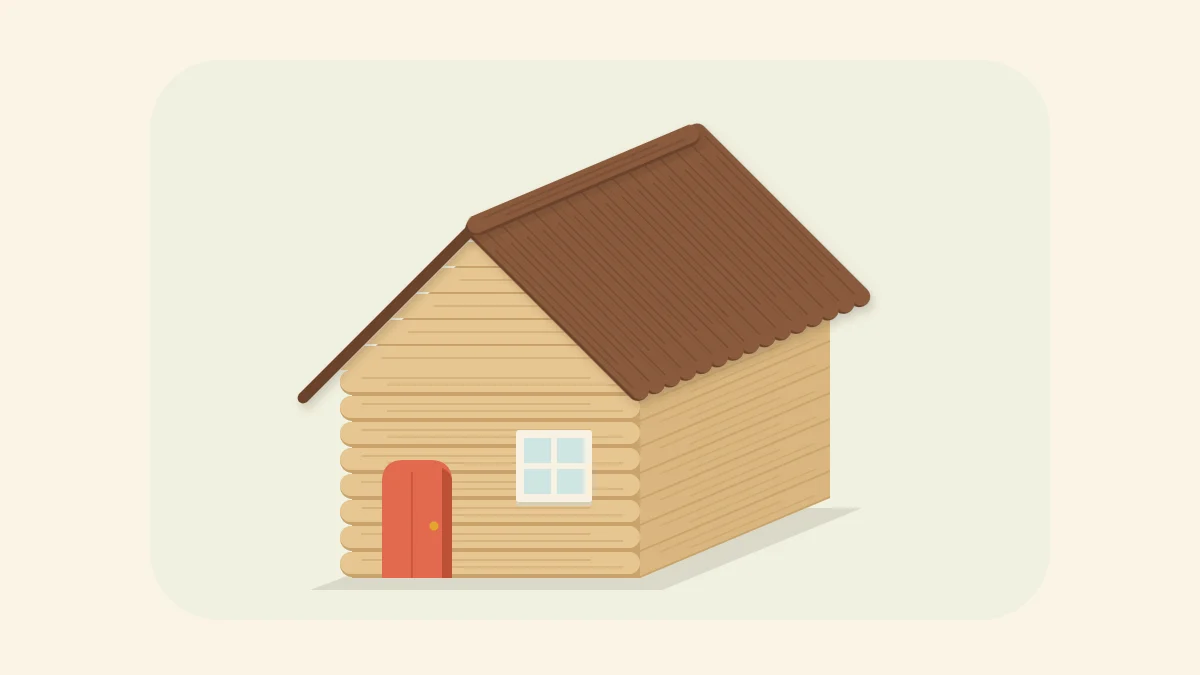
Build a small decorative cottage from four flat wall panels and two roof panels made over your own drawn template, with a painted door and a pitched roof.
Tutorial at a glance
What you need
- 40 standard craft sticks, plus spares
- 12 mini craft sticks
- 9 jumbo craft sticks
- Stiff card about 6 in (15 cm) square
- Plain paper, pencil and ruler
- White craft glue or tacky glue
- Wax paper and a heavy book
- Rubber bands and clothespins
- Sturdy scissors, eye protection and sandpaper
- Acrylic craft paint or water-based wood stain, and brushes
Building a popsicle stick house is easiest when you treat it as six flat pieces rather than one three-dimensional model. Four wall panels and two roof panels are glued up flat on the table, over a template you draw yourself, and only then stood up and joined. This decorative cottage is about 4.5 in (11.4 cm) wide and uses standard, mini and jumbo craft sticks.
The door and window are painted on rather than cut out. The only cutting is at the gable peaks, and a stepped alternative avoids even that.
What You Need
- 40 standard craft sticks, plus spares
- 12 mini craft sticks
- 9 jumbo craft sticks
- Stiff card about 6 in (15 cm) square for the base
- Plain paper, pencil and ruler for the template
- White craft glue or tacky glue; wood glue for the wall corners if you have it
- Wax paper or baking parchment and a heavy book
- Rubber bands and clothespins
- Sturdy scissors, eye protection and sandpaper for the gable peaks
- Acrylic craft paint or water-based wood stain, and brushes
Sizes vary between packs, so measure your sticks before drawing anything.
Parts and Stick Counts
| Part | Sticks | Notes |
|---|---|---|
| Side walls (2) | 16 standard, 4 mini | 8 rows each |
| Gable ends (2) | 24 standard, 4 mini | 8 rows plus peak |
| Roof panels (2) | 8 jumbo, 4 mini | 4 rows each |
| Ridge | 1 jumbo | Covers the top joint |
That comes to 40 standard, 12 mini and 9 jumbo sticks.
Draw Your Template
On plain paper, draw a rectangle as long as one of your standard sticks and as tall as eight sticks laid edge to edge: about 4.5 in by 3 in (11.4 cm by 7.6 cm). This is the side wall. Draw the same rectangle again for the gable end, then add a triangle on top with its point about 1.5 in (3.8 cm) above the center of the rectangle. Those two sloping lines are your roof lines.
Every panel is built directly on this drawing. The guide to planning a project with sketches, templates and stick counts goes into more detail on drawing your own patterns.
Build the Four Wall Panels
Side walls. Lay wax paper over the template and line up 8 standard sticks edge to edge inside the rectangle, running lengthwise like siding. Glue 2 mini sticks upright across them as cross sticks, each about 3/4 in (2 cm) in from an end. That margin leaves room for the corner joints later. Press under a book until the glue has set, and make a second panel the same way.
Gable ends. Lay 8 standard sticks on the gable template as before. The peak is four more rows, each shorter than the one below, with both ends trimmed at an angle to follow the roof lines. Mark each row against the template with a pencil. Three sticks are enough for one peak: one for each of the two long rows, and one that yields both short rows.
Soften the marked sticks in warm tap water and trim them with sturdy scissors, a little outside the line, then sand to the mark; the full method is in the guide to cutting craft sticks cleanly without splitting. Wear eye protection, and have an adult do the cutting when making with children.
Arrange the four peak rows above the rectangle. Glue 1 standard stick upright down the center of the inside face, from the base to the tip of the peak, to tie the rows together, and add 2 mini sticks upright near the ends as on the side walls. Each gable end therefore uses 12 standard sticks and 2 mini sticks.
The no-cut option. Replace the trimmed rows with whole mini sticks centered above the rectangle, stacked until their corners touch your drawn roof lines, usually one or two rows. This makes a stepped peak and needs a few extra mini sticks in place of the six trimmed standard sticks.
Door and window. While the panels are flat, turn one gable end face up and paint a door on it, and paint a small window with a cross bar on a side wall. For raised trim, glue on mini sticks or trimmed offcuts as a frame instead.

Make the Roof Panels
Each roof panel is 4 jumbo sticks edge to edge, about 6 in by 3 in (15 cm by 7.6 cm), held by 2 mini sticks glued across the underside. Jumbo sticks are longer than the walls, which gives the roof its overhang at both ends. Place the mini cross sticks about 1 in (2.5 cm) in from each end so they will sit just inside the gable ends, and press the panels flat while the glue sets.
Assemble the Walls and Roof
- Join the walls into a box. Stand the two gable ends and two side walls on the card base with the side walls fitted between the gables. Run glue down each corner where the panels meet, and along the bottom edges where they touch the card. Slip two rubber bands around the outside to hold the box and leave it until the glue has set.
- Set the two roof panels. Run glue along the sloping edges of both gable peaks. Lay the roof panels on them so they lean together at the top, with an even overhang at each end and a slight overhang past the side walls. Hold them with a clothespin at the peak or a strip of masking tape across the joint.
- Add the ridge stick. Glue the last jumbo stick flat along the top, over the line where the panels meet.
Tip
Do a dry fit of the whole house, held with rubber bands and no glue, before the final assembly.

Common Problems
- Walls will not meet squarely. A cross stick is too close to the end and is blocking the corner. Keep the margin when gluing, or sand the end of the cross stick back.
- The box leans. The rubber bands pulled it out of square. Adjust it before the glue sets.
- The roof panels slide. Hold the peak with masking tape until the glue has set.
- Warped panels. They dried without weight. Press every panel under a book.
Finishing and Variations
A walnut stain on the roof against natural walls gives a classic cottage look; painted walls with a white door frame read as more playful. Work with stain in a ventilated room and follow its label. This is a display model, so keep it away from candles and other heat sources.
The same flat-panel method builds other small structures; a decorative indoor birdhouse model is a good next step.
Frequently asked questions
How many popsicle sticks do I need to build a small house?
This cottage uses 40 standard craft sticks, 12 mini sticks and 9 jumbo sticks. The standard sticks form the walls, the mini sticks are the cross sticks that hold each panel together, and the jumbo sticks make the roof and ridge. Buy extra, since some sticks in every pack are bowed.
Can I build a popsicle stick house without cutting any sticks?
Yes. The only cut parts are the angled rows in the two gable peaks. Replace them with whole mini sticks centered above the wall and stacked until they meet your drawn roof lines, which gives a stepped peak. The door and window are painted on, so nothing is cut out of the walls.
Why build the walls flat instead of stacking them in place?
Flat panels can be pressed under a book while the glue sets, so they come out straight and square. They are also much easier to paint or decorate before assembly. Once the four walls are finished, joining them on a card base with rubber bands is a short, controlled step.