How to Paint Popsicle Sticks: Smooth Color Without Warping
Thin coats of acrylic craft paint on both faces, dried raised on spare sticks, give smooth color without curling. Plus when to paint before or after gluing.
Tutorial at a glance
What you need
- New craft sticks, plus a few spares for testing
- Fine sandpaper or an emery board
- Acrylic craft paint
- Flat brush and small round brush
- Spare sticks or clothespins as drying rests
- Masking tape and paint pens (optional)
- Clear water-based sealer (optional)
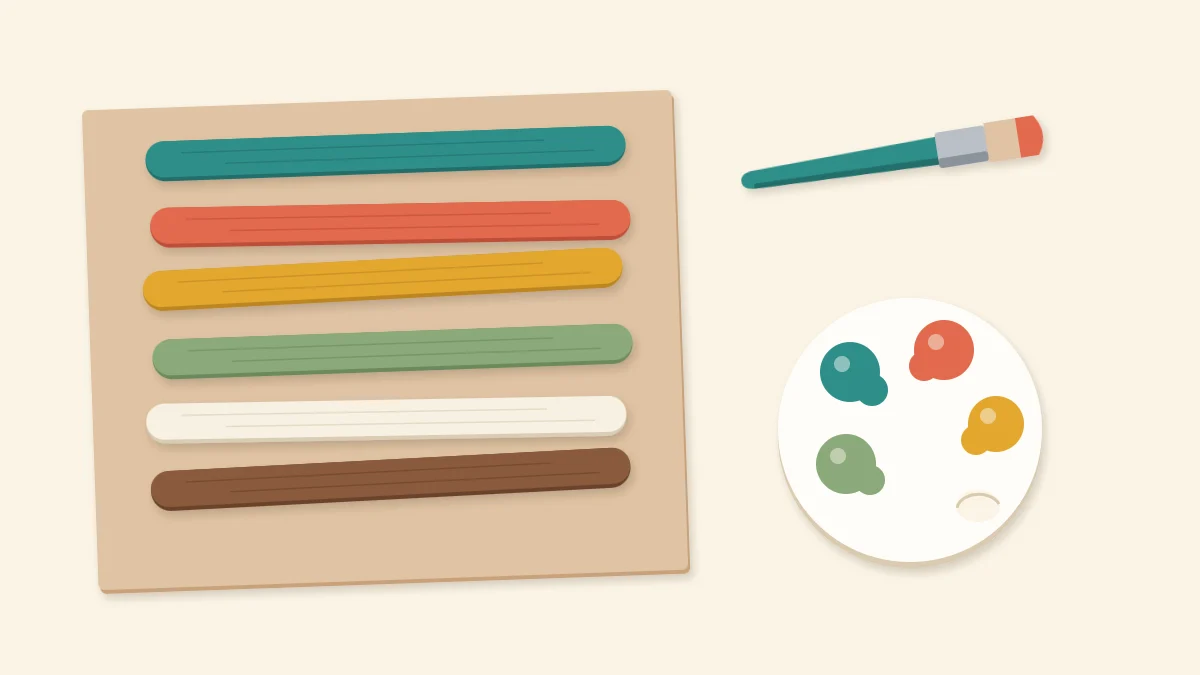
Thin wood and wet paint do not get along, which is the main thing to understand about how to paint popsicle sticks. A craft stick is only about 1/12 in (2 mm) thick, so a heavy coat on one face swells that face and curls the whole stick like a shallow spoon. The cure is simple: light sanding, thin coats of acrylic craft paint, both sides covered, and drying with air underneath.
This guide covers that routine, then the choice between painting before or after assembly, and a few ways to add stripes and detail. Craft sticks is simply the name popsicle sticks are sold under in craft packs.
What You Need
- New craft sticks, with a few extra for testing colors
- Fine sandpaper or an emery board
- A dry cloth or soft brush for dust
- Acrylic craft paint
- A flat brush about as wide as a stick, and a small round brush
- A palette or an old saucer
- Scrap paper or wax paper to protect the table
- Spare sticks or clothespins to use as drying rests
- Masking tape and paint pens (optional)
- Clear water-based sealer (optional)
Prepare the Surface
Craft sticks come out of the pack slightly fuzzy, and some have a smooth, almost polished face from being pressed at the factory. Both conditions make paint sit unevenly. A few light strokes of fine sandpaper along the grain, on each face and around the rounded ends, give the paint a uniform surface to key into.
Wipe every stick with a dry cloth afterward. Sanding dust left on the wood mixes into the first coat and dries as a gritty texture that no second coat will hide.
Thin Coats and Why Sticks Warp
Wood fibers swell when they take up water. Acrylic craft paint is water-based, so a thick, wet coat soaks one face while the other stays dry, and the swollen side pushes the stick into a curve. Very runny paint, or paint thinned heavily with water, makes it worse. Two habits prevent it: keep each coat thin, and paint both faces so the swelling is balanced.
- Sand lightly. Rub the stick on fine sandpaper along the grain and wipe away the dust.
- Brush on a thin first coat. Load the flat brush lightly and pull it along the stick in long strokes. The first coat should look streaky, with wood showing through. Paint the edges, then turn the stick once the first face is dry to the touch and coat the other face the same way.
- Build the color and dry raised. Add a second thin coat, and a third for pale colors over bare wood, until the color is solid. Rest each wet stick across two spare sticks, or hold it in a clothespin standing on its legs, so air reaches both faces.
Drying raised matters for two reasons. A stick left flat on paper dries on top first and curls, and the wet underside bonds to the paper and tears it when lifted. Only the two narrow contact points touch the rests, and those are easy to retouch.
Tip
If a stick still curls a little, wait until it is dry to the touch, then press it flat between two sheets of wax paper under a heavy book while the wood finishes drying.
Paint Before or After Assembly
Both orders work, and the right one depends on the project.
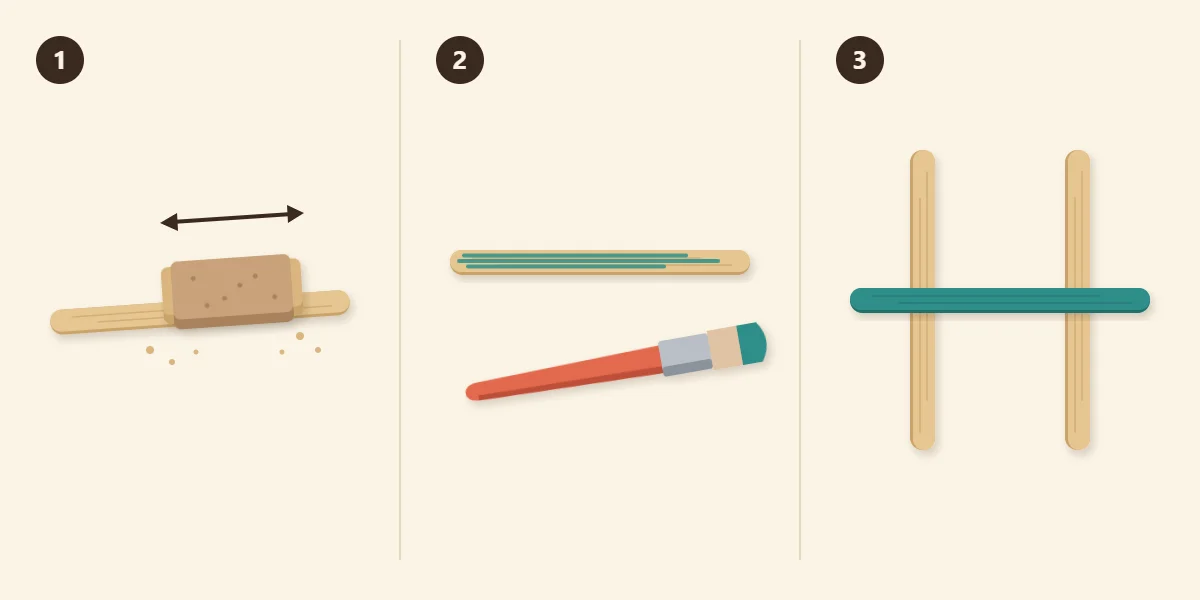
Painting loose sticks first gives the cleanest result. Each stick is coated flat, the edges are covered, and two colors can sit side by side with a crisp line between them. The drawback is glue. White craft glue and tacky glue hold best on bare wood, because they soak into the fibers, and a joint made paint to paint is only as strong as the paint’s grip on the stick. Where you can, leave the glue areas bare: the back face of a stick that will lie on a backing, or the ends where a cross stick will sit.
Painting after assembly keeps every joint wood to wood and is the natural choice for a single color. It is slower around inside corners and gaps, where paint pools and a small round brush is needed to work it out. Build the piece, let the glue set fully, wipe off any dried squeeze-out you can reach, and then paint in the same thin coats.
A panel project such as a set of square stick coasters suits either order: paint the top sticks first for a pattern of alternating colors, or paint the finished square for a solid block. A design with many separate colored rays, like the sunburst wall hanging, is much easier with the sticks painted before they are glued down.
Stripes, Detail and Finishes
Once a base color is dry, masking tape makes clean stripes. Press a strip firmly across or along the stick, rubbing the edge down with a fingernail so paint cannot creep under, then brush the second color away from the tape edge rather than toward it. Peel the tape back slowly at a low angle while the paint is still slightly soft; waiting until it is hard can lift a ragged edge.
Paint pens handle dots, lines, lettering and small patterns that a brush would blur. Work over a fully dry base coat.
| Finish | Tool | Tip |
|---|---|---|
| Solid color | Flat brush | Several thin coats |
| Stripes | Masking tape | Brush away from tape |
| Dots and lines | Paint pen | Base coat fully dry |
| Slight sheen | Clear sealer | Follow the label |
A clear water-based sealer is optional. It evens out the sheen and makes the surface easier to dust. Apply it in thin coats on both faces, exactly as its label directs, in a room with good ventilation. A sealer does not make a wooden piece suitable for wet places or for contact with food.
If you would rather keep the grain visible than cover it, the companion guide to staining craft sticks with wood stain, washes and markers covers translucent color.
Common Painting Problems
- The stick curled. The coat was too wet or only one face was painted. Paint the other face and press the stick flat once it is dry to the touch.
- Brush marks and ridges. The paint was too thick or was brushed back and forth as it dried. Use less paint and make single long strokes.
- Patchy color. Pale colors need more thin layers over bare wood. A first coat of off-white underneath helps yellows and light blues.
Frequently asked questions
Why do popsicle sticks warp when painted?
Water-based paint makes wood fibers swell. A craft stick is very thin, so when one face takes up a wet coat and the other stays dry, the swollen side pushes the stick into a curve. Thin coats, painting both faces, and drying the stick raised so air reaches both sides keep it flat.
What kind of paint works best on popsicle sticks?
Acrylic craft paint is the usual choice. It is water-based, covers bare wood in two or three thin coats and cleans up with water while wet. Use it straight from the bottle or only slightly thinned, because very runny paint soaks in and warps the stick.
Should I paint popsicle sticks before or after gluing?
Paint first when the design uses several colors or needs crisp edges, and leave the glue areas bare where possible because glue grips raw wood best. Paint after assembly when the piece is a single color and you want every joint wood to wood. Either way, use thin coats.