Popsicle Stick Desk Organizer with Three Compartments
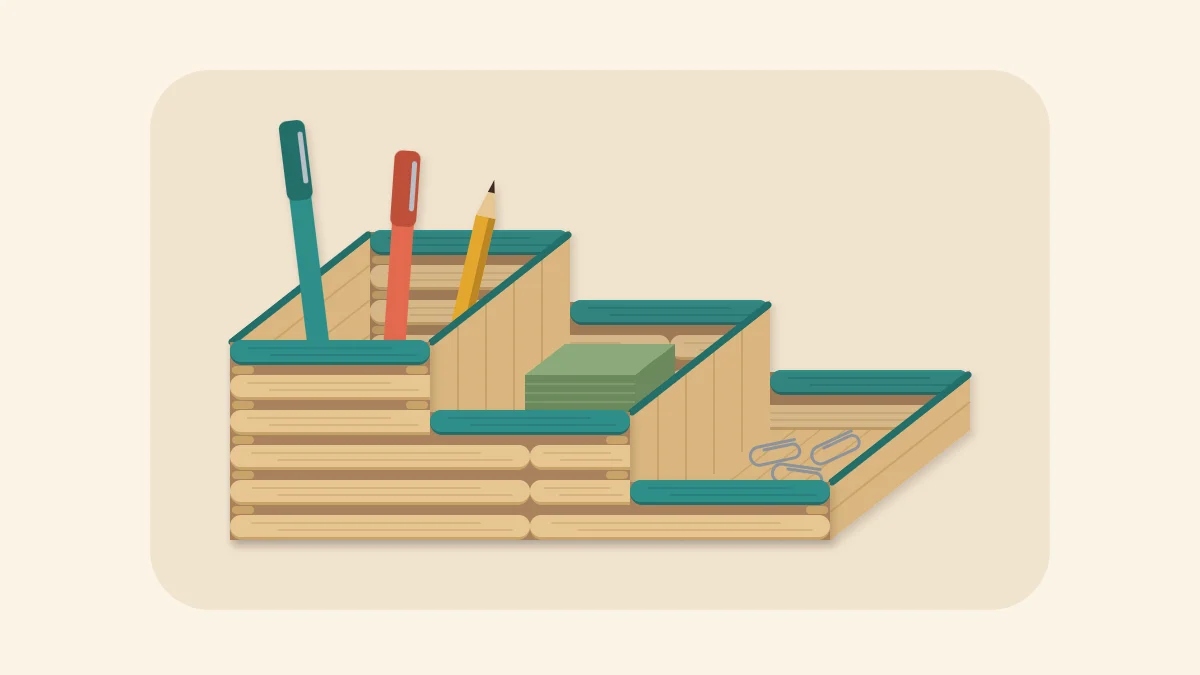
A rectangular craft stick organizer with a tall pen cup, a medium note bay and a low clip tray, built on a two-panel base with log-cabin walls.
Tutorial at a glance
What you need
- About 150 standard craft sticks (136 in the build plus spares)
- White craft glue or tacky glue, plus wood glue for the base joint
- Sturdy scissors, warm tap water and eye protection for cutting
- Fine sandpaper or an emery board
- Pencil and ruler
- Wax paper or baking parchment
- Clothespins and a heavy book
This popsicle stick desk organizer puts three jobs on one base: a tall cup for pens, a medium bay for a note block and a low tray for paper clips. The walls step down from one end to the other, so short items stay easy to reach.
It is a bigger build than a single box, and some sticks are cut in half, but the parts are familiar: a flat base panel, log-cabin stacking for the walls and two small flat panels as dividers. Start with the layout.
The Layout Plan
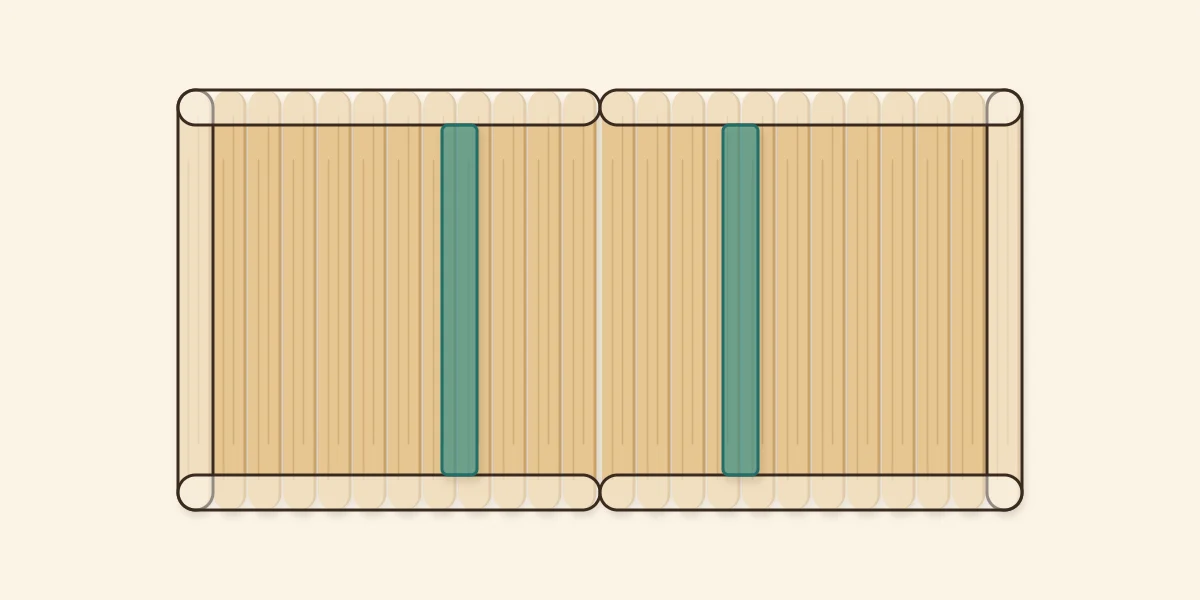
The base is two square 12-stick panels joined side by side, about 9 x 4.5 in (23 x 11.4 cm). Two divider lines cross it. The first is about 2.25 in (5.7 cm) from the left end, half a stick length. The second is the same distance from the right end. That leaves a narrow bay at each end and a center bay one full stick long.
Wall height is planned in rounds. One round is a layer of sticks along the two long sides followed by a layer of cross sticks on top of them, and it adds two stick thicknesses, roughly 1/6 in (4 mm). Stack a few of your own sticks and measure them, then adjust the round counts below to the heights you want.
| Compartment | Wall layers | Holds |
|---|---|---|
| Pen cup, left end | 20 rounds, about 3 in (8 cm) | Pens, pencils, a ruler |
| Note bay, center | 10 rounds, about 1.5 in (4 cm) | A small note block |
| Tray, right end | 5 rounds, about 3/4 in (2 cm) | Paper clips, erasers |
Along each long side, a round uses a half stick, a whole stick and a half stick. The whole stick sits in the middle and bridges the seam between the two base panels, which is why the dividers are placed off-center.
What You Need
- About 150 standard craft sticks: 136 in the build plus spares
- White craft glue or tacky glue, with wood glue for the base joint
- Sturdy scissors, a bowl of warm tap water and eye protection for cutting
- Fine sandpaper or an emery board
- Pencil and ruler
- Wax paper or baking parchment
- Clothespins and a heavy book
The 136 sticks break down as 24 for the base panels, 6 cross sticks under the base, 100 in the walls and 6 in the dividers.
Cutting the Half Sticks
You need 50 half sticks, so 25 sticks are cut across the middle. Soften the sticks in warm tap water until they flex without cracking, mark the midpoint in pencil, cut with sturdy scissors and sand the cut ends smooth once dry. Wear eye protection, because offcuts can jump, and have an adult do the cutting when making this with children.
For the dividers, trim 6 more sticks to the inside width of the organizer, about 3.75 in (9.5 cm), and keep the short offcuts. Measure the inside width on your own base before trimming.
Base, Walls, Then Dividers
1. Join the base
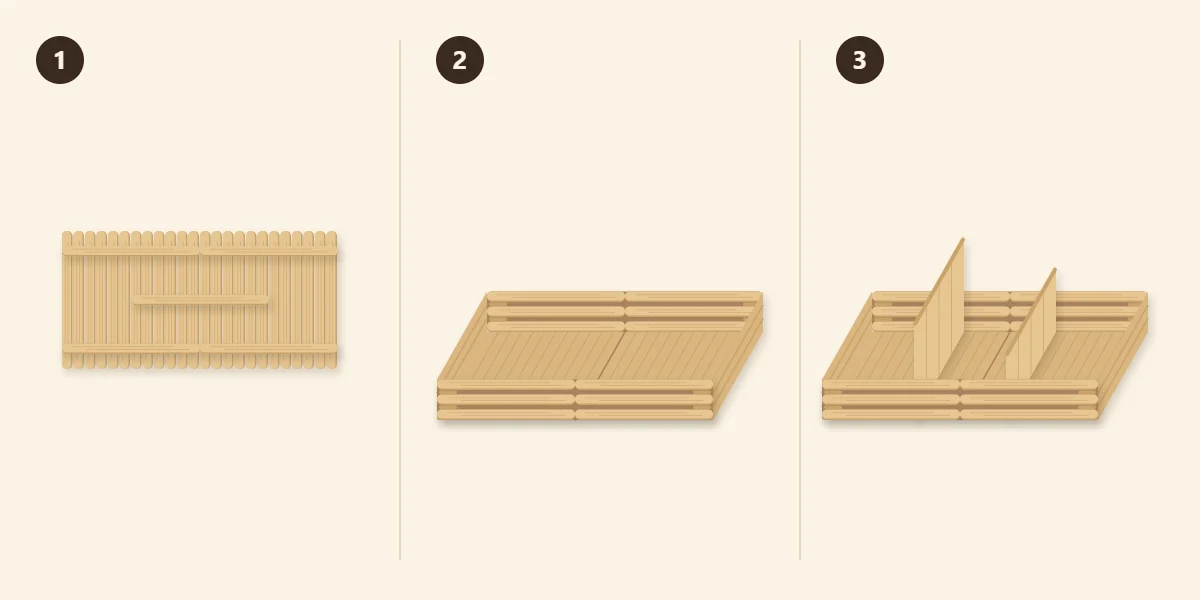
Lay 24 sticks side by side on wax paper, all pointing across the short direction, to form a rectangle about 9 in (23 cm) long. Glue two rows of cross sticks along its length, each row made of two sticks end to end, about 1/2 in (1.2 cm) in from the long edges. The ends of those rows meet at the middle, which is the weakest point, so glue two more cross sticks between the rows, centered over the seam, to bridge it. Press under a heavy book until the glue has set, then turn the base over so the cross sticks are underneath.
2. Stack the outer walls
- Rounds 1 to 5, full length. Glue a half stick, a whole stick and a half stick along each long edge of the base. Then glue four cross sticks on top: one across each end and one on each divider line, resting on the points where the long sticks meet. Each round takes 8 sticks, 40 in all.
- Rounds 6 to 10, pen cup and note bay. Stop building over the tray. Each long side now gets a half stick and a whole stick, followed by three cross sticks: the left end and both divider lines. That is 6 sticks a round, 30 in all.
- Rounds 11 to 20, pen cup only. Each long side gets one half stick, followed by two cross sticks at the left end and the first divider line. That is 3 sticks a round, 30 in all.
Use a small dot of glue at every crossing, and pause every few rounds to let the glue set under a book, since a tall wet stack slides easily. The tutorial for a popsicle stick box with a lid covers log-cabin stacking in more detail.
3. Set in the dividers
The stacked cross sticks on the divider lines already separate the bays, but they have gaps. Flat panels close them. For the tall divider, lay four trimmed sticks edge to edge and glue two offcuts across them as cross sticks. For the low divider, do the same with two trimmed sticks. Once set, glue each panel upright against its stack of cross sticks, on the note bay side, with the bottom edge on the base and the ends touching the long walls.
Tip
Sort the sticks into three piles before gluing: whole long-side sticks, half sticks and cross sticks.
Common Problems
- The base flexes at the seam. The bridging cross sticks are missing or off-center. Add them, using wood glue, before any walls go on.
- A wall leans outward. Sticks drifted as the stack grew. Square each round against a book held upright while the glue is wet.
- Half sticks are different lengths. Cut one accurately, sand it, and use it as the pattern for marking all the others.
- A divider panel is too wide to fit. Sand its ends a little at a time and test again; forcing it pushes the long walls apart.
Finishing and Variations
Sand any sharp corners on the top edges, then leave the wood natural or paint only the top round of each step in one accent color, which outlines the three heights. Small felt pads under the base stop it sliding on a smooth desk. Keep it for light desk items.
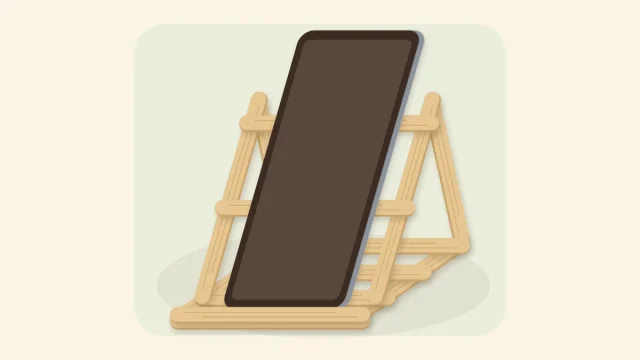
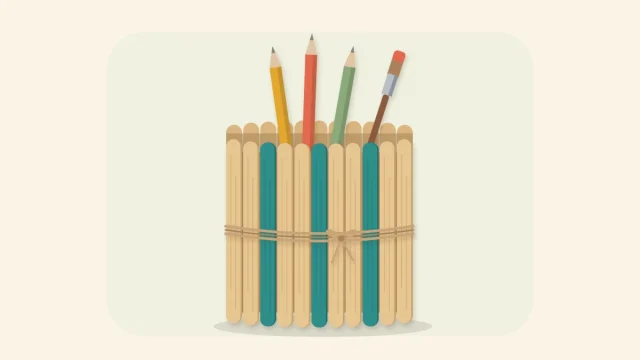
If you only need somewhere to stand pens, the pencil holder built around a cardboard tube is a quicker project with no cutting. A matching angled phone stand made from the same pack of craft sticks completes the desk set.
Frequently asked questions
How many popsicle sticks does a three-compartment desk organizer take?
This design uses 136 standard craft sticks: 24 in the base, 6 cross sticks underneath, 100 in the walls and 6 in the dividers. The wall count changes if you alter the heights, so work out your rounds first and buy a pack with spares.
How do I plan the compartment heights?
Plan in rounds, where one round is a layer of long-side sticks plus a layer of cross sticks. Stack a few of your own sticks, measure the pile to find the height of one round, and divide the height you want by that figure. Check the pen cup against your shortest pen so it is not hidden.
Why does the base need extra cross sticks at the middle?
The base is two separate panels, and the seam between them is the weakest point. Cross sticks centered over that seam bridge the two panels so the base does not fold when the organizer is lifted. The whole sticks in the long walls cross the same seam and add more stiffness.